
I was so, so sick last week, the mere thought of food—cooking it, styling it, photographing it—was enough to make me feel like I was going to throw up. I spent most of my time lying in bed trying to focus on my center of gravity and ward off waves of nausea. In my better moments, I flipped through magazines and scrolled through Pinterest on my laptop.
At some point I saw this: an asparagus flower vase. I thought it was so pretty, and it seemed like something even I (the world’s worst crafter) could handle. Plus, even though it involved food, it had nothing to do with eating.
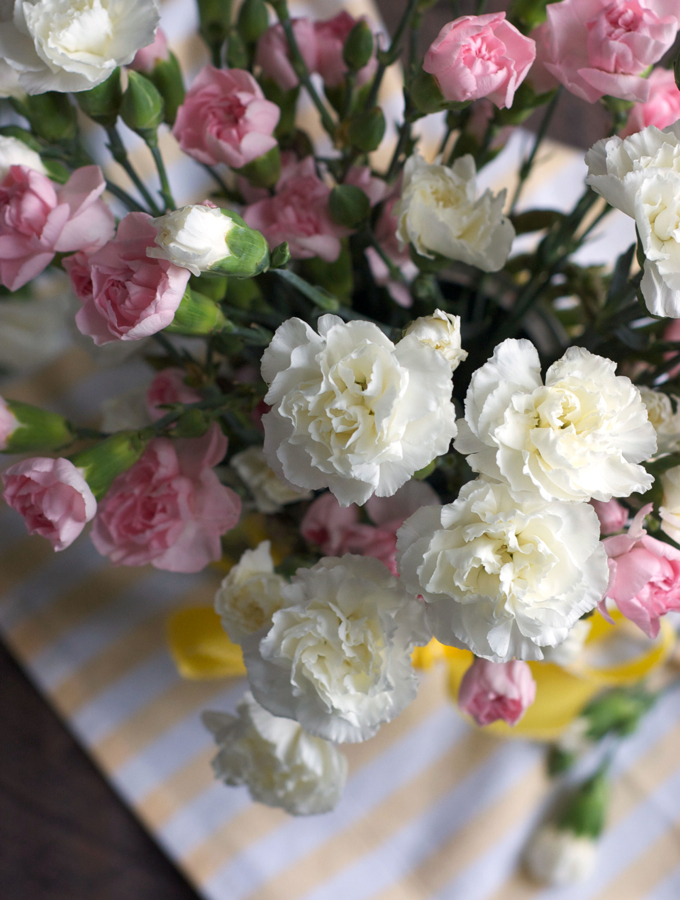
Towards the end of the week, when I was feeling a little bit better, I channeled my inner Martha Stewart and got to work. I’m pretty happy with the results! It’s not perfect (you can see the coffee can I used as a base peeking though in a few spots), but overall I think the arrangement looks really pretty and perfect for spring.

What do you think?
I used pink and white carnations because honestly, I wasn’t totally confident this project would work out and I didn’t want to spend a lot of money on more expensive flowers. But next time I will splurge on hyacinths, hydrendias, tulips, or (my favorite) peonies.
I had so much fun, I think I’m going to post more crafts (and some fun kid’s projects) soon!

- 1 empty 32-ounce can (or an old coffee can)
- 2 pounds asparagus
- 2 rubber bands
- Wide ribbon
- Flowers
- If there is a label on the can, peel it off as best you can.
- Trim the asparagus so that when alined with the can, the tips stick up over the top by about 1 inch.
- Wrap the rubber bands around the middle of the can. Gently tuck the asparagus behind the rubber bands, securing them to the can. Work your way all around, then go back and make sure there are no "holes." Tie the ribbon around the asparagus so that it covers the rubber bands.
- Arrange the flowers in the can, then fill it with water.


Kristen says
THIS is super adorable!! I am going to bring this to my nieces first communion!
Mica@Let's Taco Bout It Blog says
What a cute idea this is!! And I think it goes perfectly with the carnations!
Tamara says
Absolutely lovely, and so creative! I may have to try this 🙂
Kylee@Kylee Cooks says
That’s so adorable! sorry you weren’t feeling good
Sam | Ahead of Thyme says
That is such a cute idea and goes to well with your flowers!
laura@motherwouldknow says
I love how this looks, but I love eating asparagus even more. So while I love this idea, I can’t imagine using 2 pounds of asparagus and not getting to eat them:)
Trish says
Oh my gosh SO COOL! I always forget to add food to a centerpiece. Love this!
Brie says
I love this idea, it’s the perfect centerpiece for a Mother’s Day brunch. I think yours turned out fantastic – couldn’t even see the can peeking out until you mentioned it 🙂 I hope you do more crafts and that you’re feeling 100% now.